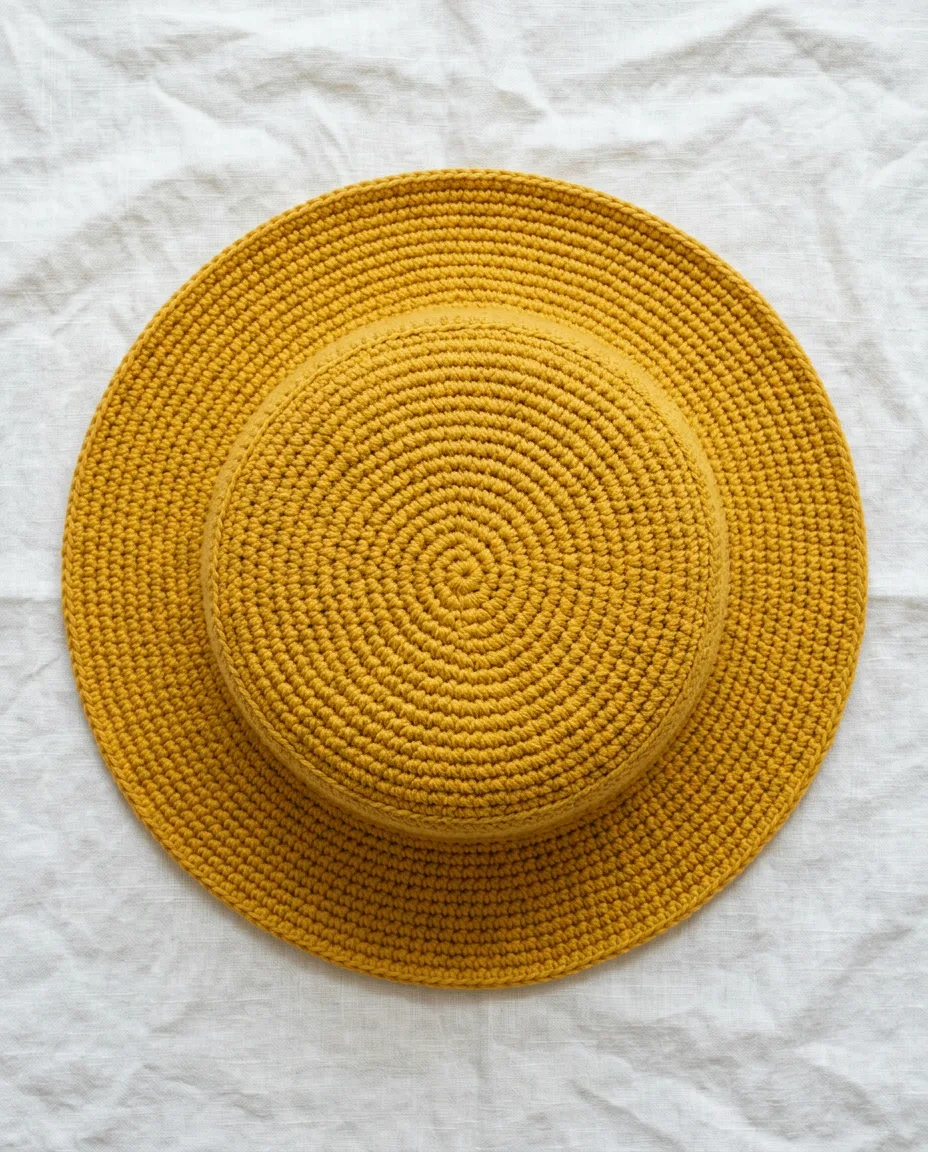
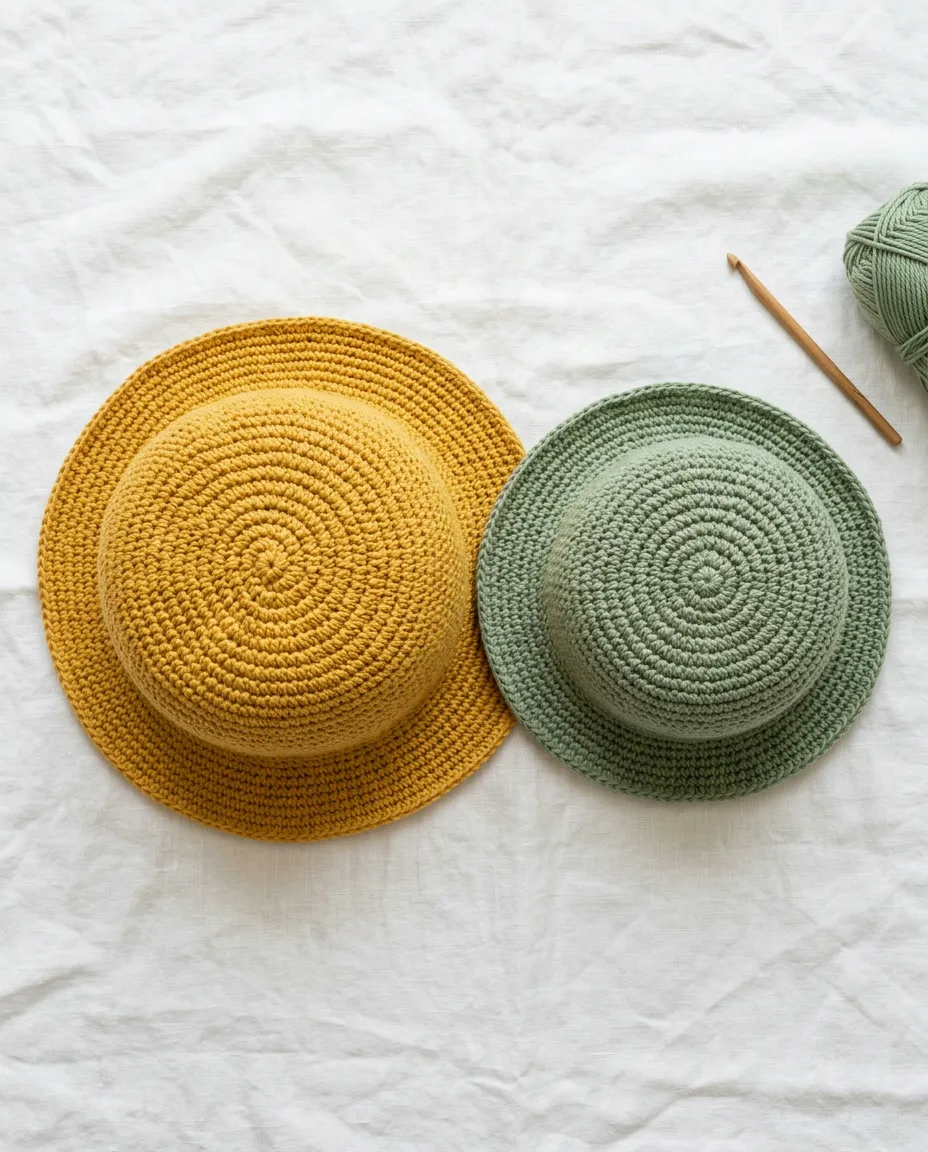
The question behind most floppy crochet bucket hats is the same one: why does the brim fold down over your eyes when the picture showed it standing out straight. The answer is in the fabric. A brim worked in tall, loose stitches has nothing holding it up. A brim worked in dense single crochet, with a fold line built into the first brim round and a snug slip-stitch edge, carries its own weight.
This pattern uses US crochet terms. The whole hat is single crochet (sc), worked in a continuous spiral with a 5 mm (H) hook and worsted weight yarn, the medium-thickness yarn marked with a 4 on the band. It fits a 22 inch (56 cm) head and takes about 4 hours. Cotton gives the stiffest brim. Acrylic is softer against the skin and the brim droops a little more, so with acrylic, switch to a 4.5 mm (7) hook from the first brim round on.
Gauge, the number of stitches you get per inch, decides whether the hat fits. With the 5 mm hook you want 12 single crochet and 13 rounds to 4 inches (10 cm). Tighter than that and the hat shrinks a size. Looser and the brim loses its stiffness.
Make the hat
Five stages, start to finish. The crown is a flat circle and the sides are a straight tube. The brim is a second, shallower circle that flares out from the bottom of the tube. Each stage below has its rounds written out in full in the next section, so read the steps once for the shape and then follow the rounds.
- Start with a magic ring, an adjustable loop that pulls the center hole shut. Wrap the yarn twice around two fingers, insert the hook under both loops and pull up the working yarn, which is the strand coming from the ball. Chain 1. Now work 6 single crochet into the ring. For each one, insert the hook into the ring and yarn over (wrap the yarn over the hook from back to front). Pull up a loop so two loops sit on the hook, then yarn over again and pull through both loops. Pull the short tail until the hole closes.
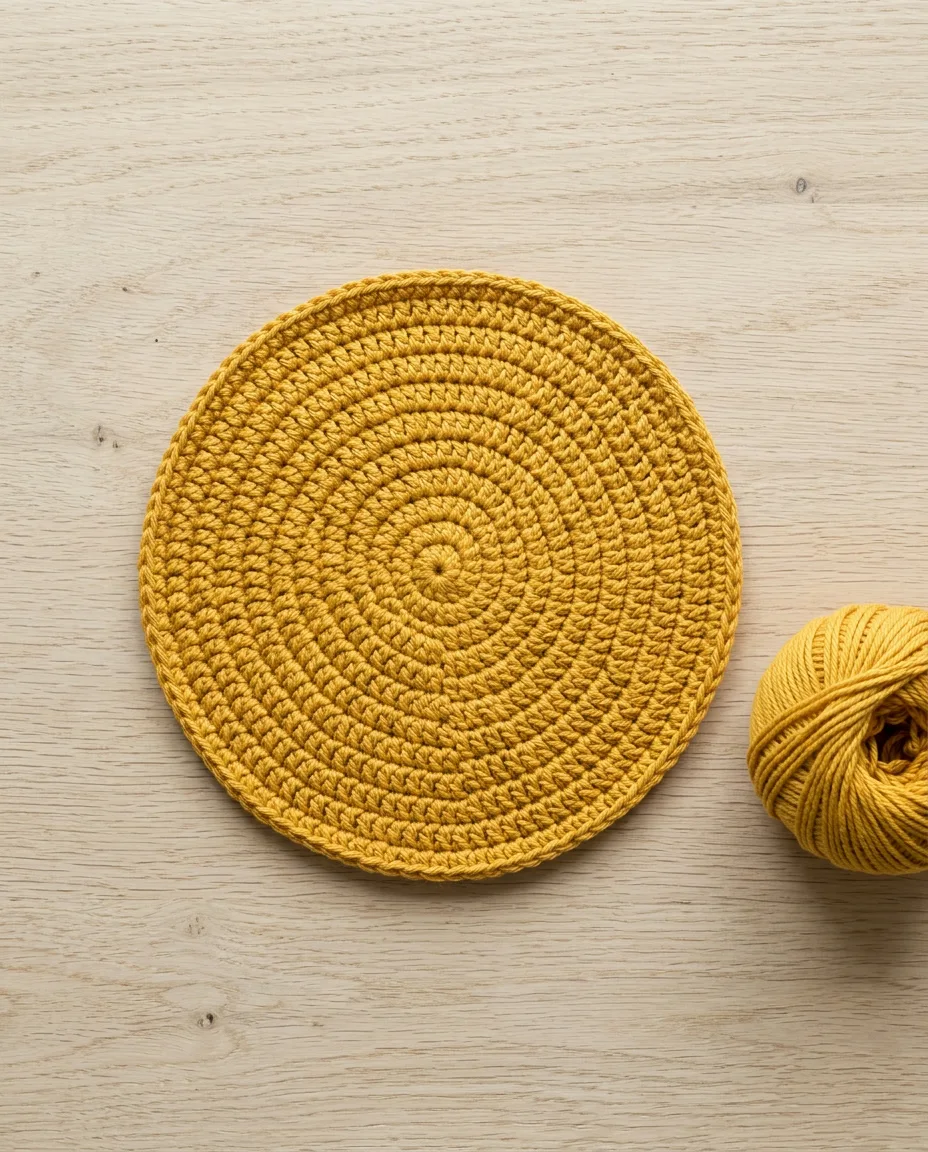
- Build the crown as a flat circle. Every round adds 6 stitches. Round 2 is an increase (inc) in every stitch, which means two single crochet worked into the same stitch. Round 3 is one single crochet then an increase, repeated 6 times, and each round after that adds one more plain stitch between the increases. Stop when round 10 ends on 60 stitches and the circle measures about 6.5 inches (16 cm) across. Work in a spiral with no joins, and move the stitch marker up into the first stitch of every new round.
- Work the sides straight. Eleven rounds of plain single crochet, one in each stitch, take the hat from a flat disc to a cup about 3.5 inches (9 cm) deep. Try it on after round 16. The crown should sit flat on your head and the sides should reach the tops of your ears by round 21. Add or drop a round here to change the depth.
- Make the fold line and the brim. The first brim round goes into the back loop only, the half of the V on top of each stitch that sits farther from you. The front loop, the half nearer you, stays unworked and leaves a ridge around the outside. The brim folds out along that ridge. From there, alternate an increase round with a plain round until the brim is 84 stitches around and about 2.5 inches (6 cm) wide.
- Finish with one round of slip stitch. For each slip stitch, insert the hook into the next stitch, yarn over and pull the loop straight through both the stitch and the loop already on the hook. Keep them snug. This round is what stops the edge from waving. Cut the yarn, pull the tail through the last loop and weave both tails in with the yarn needle. Wet the hat, roll it in a towel to take out the drips and dry it brim-down on a flat surface.
The rounds
In the rounds, sc means single crochet and inc means two single crochet worked into one stitch. MR is the magic ring from step one. BLO means back loop only. Sl st means slip stitch. The number in parentheses is the stitch count at the end of the round, and every count below has been checked against the one before it.
Rounds 1 to 10 grow by 6 stitches each. Rounds 11 to 21 stay at 60. Round 22 starts the brim and is the only round worked into the back loop. From there the brim gains 6 stitches every second round, which is a gentle enough flare to stay level. Add stitches faster than that and the edge ruffles.
 Save
Save- 6 sc in MR 6 sts
- inc in each st around 12 sts
- (sc, inc) x6 18 sts
- (2 sc, inc) x6 24 sts
- (3 sc, inc) x6 30 sts
- (4 sc, inc) x6 36 sts
- (5 sc, inc) x6 42 sts
- (6 sc, inc) x6 48 sts
- (7 sc, inc) x6 54 sts
- (8 sc, inc) x6 60 sts
- sc in each st around 60 sts
- sc in each st around 60 sts
- sc in each st around 60 sts
- sc in each st around 60 sts
- sc in each st around 60 sts
- sc in each st around 60 sts
- sc in each st around 60 sts
- sc in each st around 60 sts
- sc in each st around 60 sts
- sc in each st around 60 sts
- sc in each st around 60 sts
- in BLO: (9 sc, inc) x6 66 sts
- sc in each st around 66 sts
- 5 sc, inc, (10 sc, inc) x5, 5 sc 72 sts
- sc in each st around 72 sts
- (11 sc, inc) x6 78 sts
- sc in each st around 78 sts
- 6 sc, inc, (12 sc, inc) x5, 6 sc 84 sts
- sl st in each st around, fasten off 84 sts
Why the brim holds
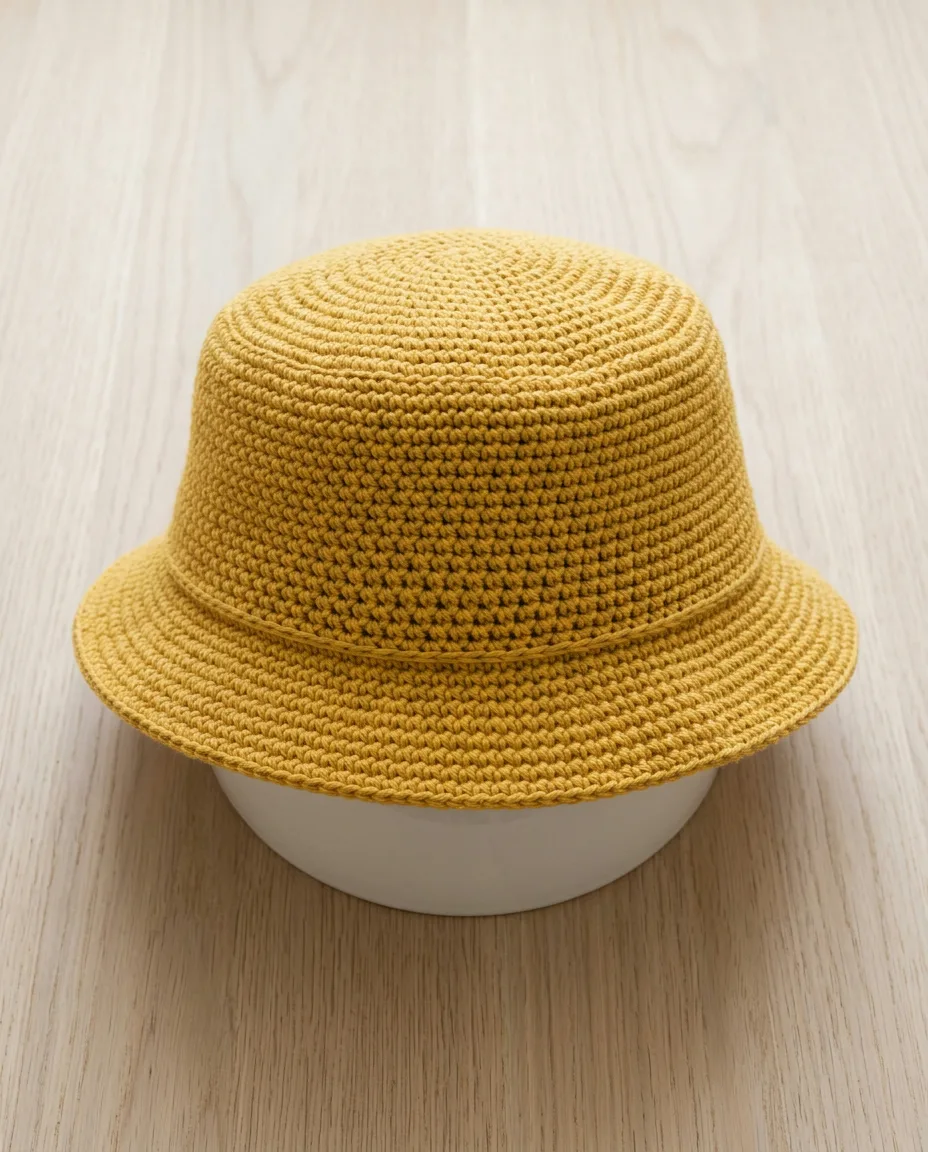
Three things do the work. Stitch density comes first. Single crochet at 12 stitches to 4 inches is a short, tight fabric with almost no drape. A 2.5 inch brim of it behaves like thick felt. Next is the back-loop round at the start of the brim. It gives the fabric a crease to bend along, and the brim turns out at a clean angle. Skip that round and the sides curve into the brim in a soft arc that flops within a day.
 Save
SaveLast comes the slip-stitch edge. Slip stitches are shorter than single crochet, so a round of them pulls the outer edge in by a fraction. That small bit of tension, the pull on the yarn along the edge, is what keeps the rim from rippling. Work it at the same gauge as the rest of the hat. A slip-stitch round pulled hard enough to cup the brim upward has gone too far, and you can rip it back and redo it looser in ten minutes.
Hook size matters more than yarn fiber. Going down half a millimeter for the brim rounds packs the stitches closer and stiffens the fabric without changing the count. Cotton still wins for stiffness. An acrylic brim at 4.5 mm sits about level. The same brim at 5 mm dips at the front after a few wears.
Sizing for other heads
Every crown round adds 6 stitches, and at this gauge 6 stitches is 2 inches (5 cm) of circumference. That one fact sizes the hat. For a child with a 20 inch (51 cm) head, stop the crown at round 9 with 54 stitches and work 9 even rounds for the sides. Start the brim in the back loop with (8 sc, inc) x6, which lands on 60. Work a plain round. Then (9 sc, inc) x6 brings it to 66, followed by another plain round. Finish on (10 sc, inc) x6 for 72 and the slip-stitch round.
For a large adult head of 24 inches (61 cm), add round 11 as (9 sc, inc) x6 so the crown ends on 66, and work 12 even rounds. Start the brim in the back loop with (10 sc, inc) x6 to reach 72. Three more increase rounds, each separated by a plain round, take it to 90. Each one puts one extra plain stitch between the increases. Slip stitch around to finish.
Measure the crown before you start the sides, whatever the size. Its width across should be about half an inch (1.5 cm) less than your head circumference divided by 3.14, so a 22 inch head gives 7 inches and a 6.5 inch crown is right. The hat stretches that last half inch when you put it on, and the stretch is what grips.
 Save
SaveMistakes that flatten the brim
Stacked increases. If every increase lands directly above the one in the round below, the brim grows six corners. The fabric between the corners puckers. Rounds 24 and 28 above shift the increases by half a repeat for that reason. On the crown it matters less. The sides pull the disc round once the hat is on.
Counting drift on the even rounds. Eleven rounds of 60 is a long stretch of nothing happening, and a missed stitch on round 15 will not show until the brim comes out lopsided. Count every third round. If you are off by one, fix it in the next round with a quiet increase or decrease at the back of the hat.
Never work the brim loose to speed it up. Loose brim stitches are the most common cause of a floppy hat. Blocking, which means wetting the piece and shaping it as it dries, can set a dense brim level. It cannot put density into a brim that was worked loose in the first place.
And check the hook. A 5 mm hook from one maker can measure 5.5 mm from another if it is old and unmarked. The gauge swatch, a test square of about 20 stitches and 15 rounds, takes fifteen minutes and saves four hours.
Washing and reshaping
Cotton bucket hats go in a cool machine wash inside a mesh bag, then dry flat. Heat in a dryer shrinks cotton by a size and leaves the brim wavy. Reshape while damp: set the hat crown-up over a bowl about the size of your head, and press the brim flat on the table around it. Once dry it keeps that shape until the next wash.
Acrylic can take a warm wash but never an iron. The fibers melt and go shiny at iron temperatures, and the stiffness you built with the smaller hook disappears for good. For a brim that has softened after months of wear, a light spray of fabric starch on the damp brim, pressed flat under a book overnight, brings it back level for another season.