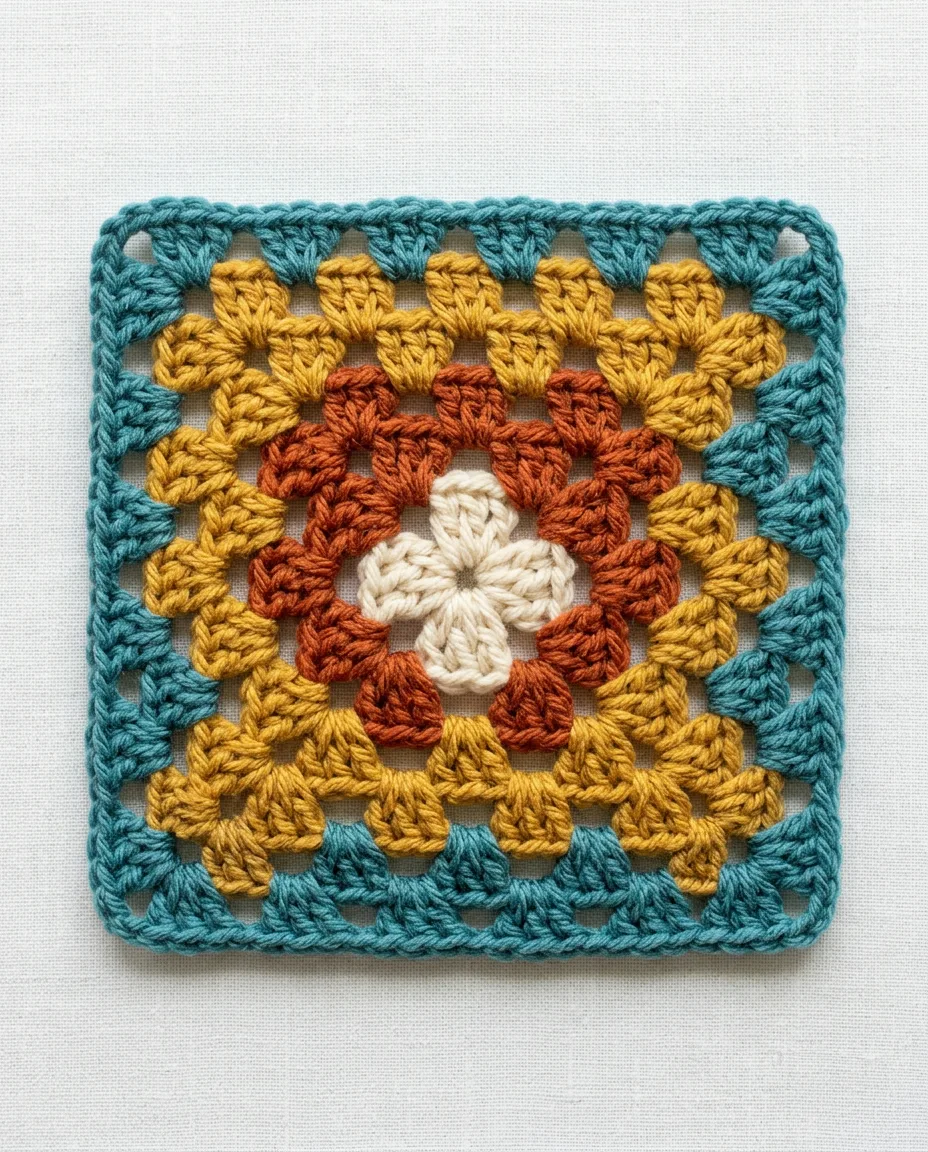
Most advice blames a curling granny square on the hook. Go up a size, the comments say, and the square loosens up and lies flat. It rarely does. A granny square cups or ruffles because the corners and the sides are growing at different speeds, and the hook has nothing to do with that. The chains between the clusters set the speed. Get those two chain lengths right, turn the square over at the end of every round, and the square comes off the hook flat, with no pinning out needed.
This pattern uses US crochet terms. It makes the classic four-round square in worsted weight yarn, the medium-thickness yarn marked with a 4 on the band, with a 5 mm (H) hook. The finished square measures about 5 inches (12.5 cm) on each side and takes about 20 yards (18 m) of yarn. Twenty minutes per square is a fair pace once the first two are behind you.
Every round is built from the same unit: a cluster of 3 double crochet worked into a gap, with chains between the clusters. At a corner the cluster is followed by 2 chains and a second cluster in the same gap. Sides get single clusters with 1 chain between them. That is the whole stitch vocabulary, and it is why a first square takes an evening and a tenth one takes twenty minutes.
Make the square
Four stages, one per round. The first makes the center ring and four corner clusters. Each round after that adds four more clusters, so the square grows by one cluster per side. The exact rounds with counts are in the next section. Read these steps first so the shape makes sense, because the rounds use the short forms.
- Make the center ring. Put a slip knot on the hook, a loop that tightens when you pull the long end. Chain 4: for each chain, yarn over (wrap the yarn over the hook from back to front) and pull it through the loop on the hook. Slip stitch into the first chain to close the ring, which means insert the hook into that chain, yarn over and pull through both the chain and the loop on the hook in one move.
- Work the first round. Chain 3, which stands in for the first double crochet. For each double crochet (dc), yarn over, insert the hook into the ring, yarn over again and pull up a loop so three loops sit on the hook. Yarn over and pull through two loops, then yarn over and pull through the last two. Work 2 double crochet into the ring, then chain 2 for the corner. Repeat 3 double crochet and chain 2 three more times, and slip stitch into the top of the starting chain 3 to join. Four clusters, four corner gaps.
- Move into position and turn. Slip stitch into the next 2 double crochet and into the corner gap beside them. Turn the whole square over so the other face is toward you. Every round starts this way from now on. Turning cancels the slight lean that double crochet clusters have, so the square stays square and does not drift into a diamond.
- Work round two. Chain 3, then 2 double crochet into the same corner gap, chain 2, and 3 more double crochet into that gap: one corner done. Chain 1. In the next corner gap work 3 double crochet, chain 2, 3 double crochet. Chain 1. Repeat around and join with a slip stitch into the top of the chain 3. You now have 8 clusters and a chain-1 gap on each side.
- Work rounds three and four. Slip stitch into position, turn, and treat every corner gap exactly as in round two. In every chain-1 gap along the sides, work one cluster of 3 double crochet and chain 1 after it. Round three has one side cluster per side and round four has two. Finish round four, cut the yarn, pull the tail through and weave both ends into the backs of the clusters with the yarn needle.
The four rounds
In the rounds, dc is double crochet and ch is chain. Sl st is slip stitch. Sp is a gap you work into. A cluster is always 3 dc into one gap. The count closing each round is the number of clusters, and each round has 4 more than the one before. Multiply by 3 for the double crochet count, so round four holds 48.
 Save
Save- ch 4, sl st into first ch to form a ring. ch 3, 2 dc into ring, ch 2, (3 dc into ring, ch 2) x3, sl st to top of ch 3 4 clusters
- sl st into next 2 dc and into corner sp, turn. ch 3, 2 dc in same sp, ch 2, 3 dc in same sp, ch 1, [(3 dc, ch 2, 3 dc) in next corner sp, ch 1] x3, sl st to top of ch 3 8 clusters
- sl st into next 2 dc and into corner sp, turn. ch 3, 2 dc in same sp, ch 2, 3 dc in same sp, ch 1, [3 dc in next ch-1 sp, ch 1, (3 dc, ch 2, 3 dc) in next corner sp, ch 1] x3, 3 dc in last ch-1 sp, ch 1, sl st to top of ch 3 12 clusters
- sl st into next 2 dc and into corner sp, turn. ch 3, 2 dc in same sp, ch 2, 3 dc in same sp, ch 1, [(3 dc in next ch-1 sp, ch 1) x2, (3 dc, ch 2, 3 dc) in next corner sp, ch 1] x3, (3 dc in next ch-1 sp, ch 1) x2, sl st to top of ch 3, fasten off 16 clusters
Check round four before you cut the yarn: each side should read, from corner to corner, corner cluster, chain 1, side cluster, chain 1, side cluster, chain 1, corner cluster. If a side has only one cluster in the middle, a chain-1 gap was skipped on round three and the square will pull in on that side.
Why squares curl or ruffle
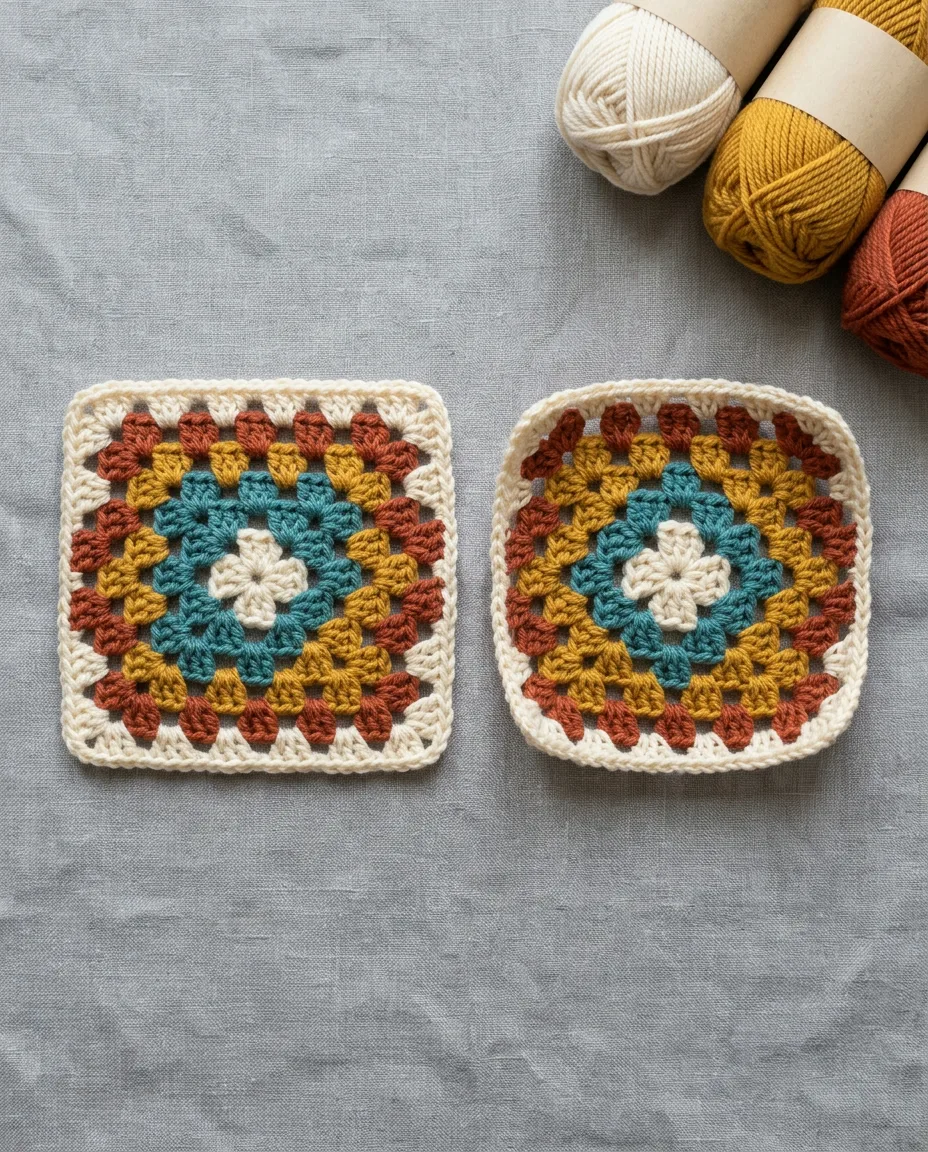
Picture the square as two lengths racing each other. The outside edge of a round is made of clusters and chains. The corner needs to grow faster than the side. So it gets 2 chains and the side gets 1. When the corner chains are pulled tight, the corner is too short for the fabric inside it. The square cups toward you like a shallow bowl. When the side chains are loose and wide, the edge is longer than the fabric it frames. It ruffles.
 Save
SaveLooser corners fix the cupping. Make the two corner chains a little longer than your normal chain by pulling up each loop to about the height of a double crochet before you yarn over. Keep the side chains short and ordinary. On most hands that one change is enough, and the square lies flat with no pinning at all.
Ruffling is the rarer fault and comes from the opposite habit. Side chains made too long, or an extra chain slipped in between side clusters, add length the fabric cannot use. Pull those chains to the same height as the cluster tops and count them on every side. One chain between side clusters. Two at a corner. Nothing else.
Turning handles the third fault, the diamond. Double crochet clusters all lean a few degrees in the direction you work. Over four rounds in the same direction, the lean adds up and the square skews. Turning after every round sends the next round the other way, and the leans cancel out. The back and front of the square will look slightly different, which does not matter for a blanket and saves you ever having to tug a square straight.
Bigger squares and joining
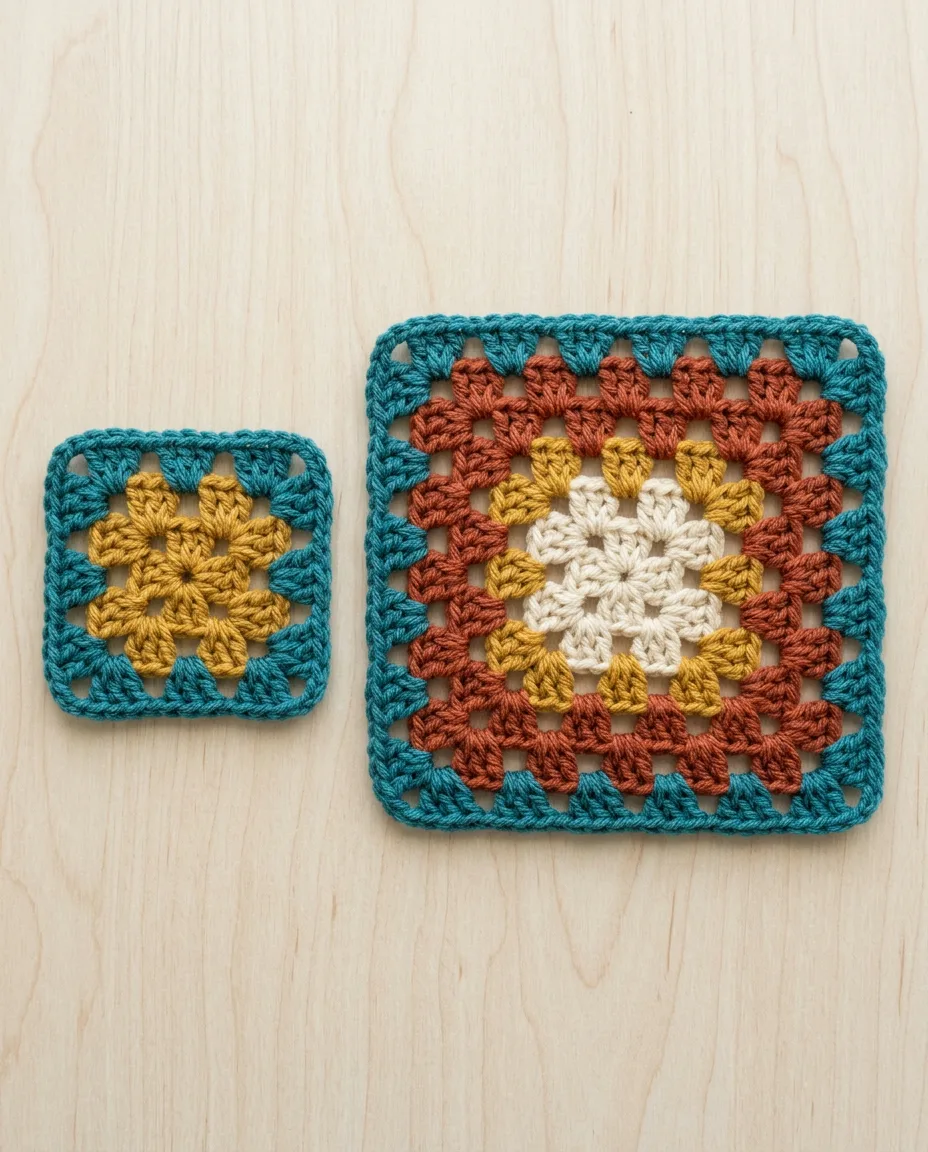
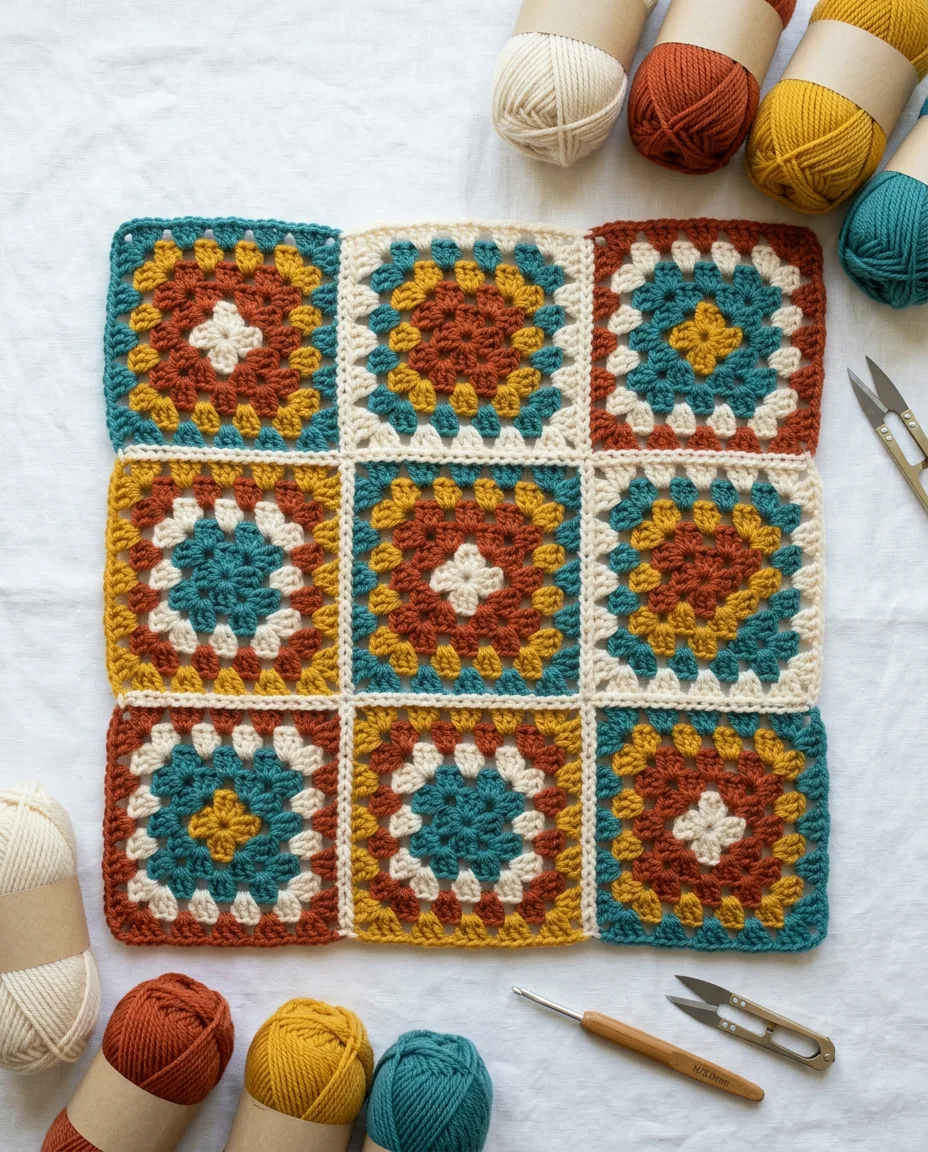
Nothing changes past round four. Round five has three side clusters per side and 20 clusters in all, round six has four per side and 24. Each round adds about 1.25 inches (3 cm) to the side, so a 10-round square comes out near 12.5 inches (32 cm) and is a cushion cover front on its own. For a blanket you want many small squares. Thirty four-round squares sewn 5 across and 6 down make a baby blanket of about 25 by 30 inches (63 by 76 cm).
Change color when a round closes if you want the classic striped look. Cut the yarn after the final slip stitch and weave it in. Start the new color in any corner gap with a slip knot on the hook and a chain 3, which counts as the first double crochet. Starting each round in a different corner also spreads out the little joins so no single corner grows thick.
 Save
SaveJoin finished squares with the yarn needle. Lay two squares face up side by side and sew through the outer loops of the matching stitches with a whipstitch. That means passing the needle over the edge and back through the next pair of loops. Match cluster to cluster and chain gap to chain gap. A seam sewn that way lies as flat as the squares themselves. Slip-stitch joins worked with the hook are faster but leave a ridge on one side.
Mistakes to watch for
Working into stitch tops. Every cluster in a granny square goes into the gap under the chains between clusters. The top of a double crochet is never the right spot. Stitches worked into stitch tops pack too tightly and the square shrinks on that side.
Counting the chain 3 wrong. The starting chain 3 is the first double crochet of the first cluster, so that corner gets only 2 more double crochet before the chain 2. Three more and that corner has an extra stitch, which shows as a bump by round four. If your chains run loose, use a chain 2 to start instead and the join will close with less of a gap.
Skipping the slip stitches into the corner. The slip stitch join lands at the top of the chain 3, which is the first stitch of a cluster, and you cannot start a corner from there. The two slip stitches across the top of the cluster and the one into the gap are what carry you to the right spot. Skip them and the new round begins in a side position, which throws off every corner that follows.
And weaving ends in too soon. Leave tails of at least 6 inches (15 cm) and weave each one through the backs of 4 or 5 double crochet, then back the other way through 2. Shorter tails work loose in the wash, and a granny square with an open center ring cannot be rescued without redoing it.
Washing and blocking
Blocking, which means wetting a piece and pinning it to shape while it dries, tidies a square. It does not cure one. A square that cupped off the hook because of tight corners will cup again after its first wash. For squares that lie close to flat already, soak them in cool water for ten minutes and roll them in a towel. Pin each one to a towel or foam mat at the four corners with rust-proof pins, pulling to an even 5 inches, and leave them overnight.
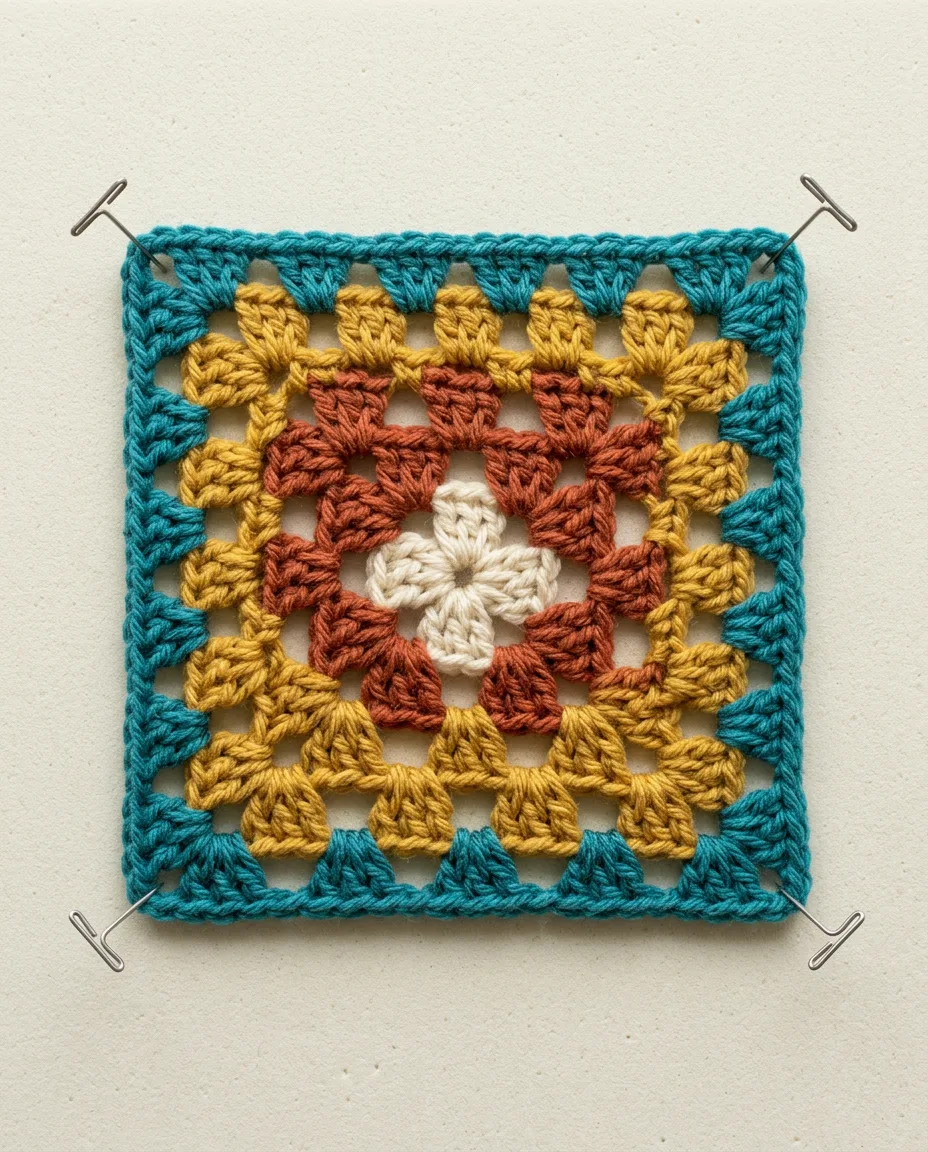 Save
SaveAcrylic needs a different approach. Water does little to it. Hold a steam iron an inch above the pinned square and let the steam settle for a few seconds on each area, without ever touching the fabric with the iron. Steam relaxes acrylic into shape for good, so pin it straight before you start. A finished blanket of either fiber goes through a cool, gentle machine wash inside a pillowcase and dries flat on a bed. Hanging it from a line stretches the squares nearest the pegs by an inch or more.


