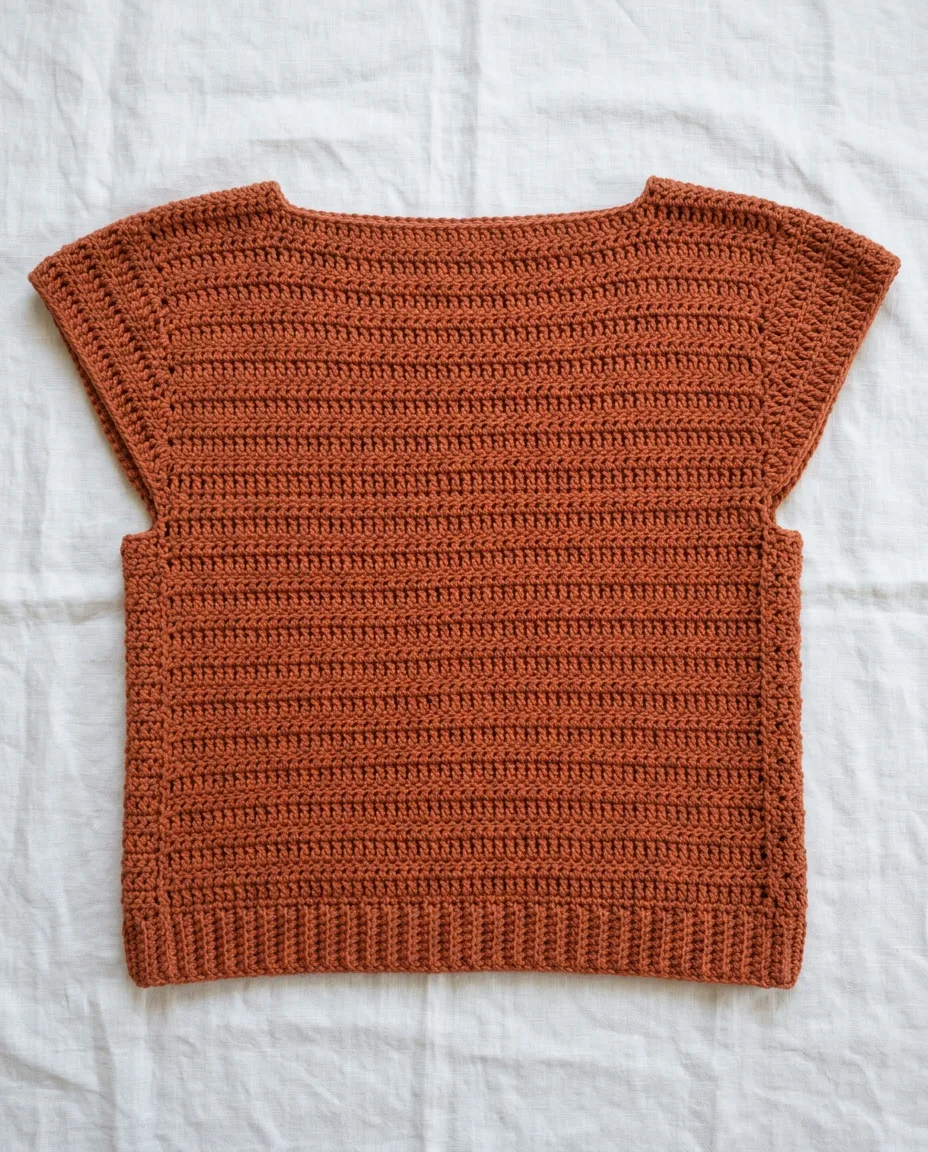
Plenty of first crochet tops die at the armhole. The pattern says to decrease 2 stitches at each end every other row. The row count drifts. By the time both fronts are done, one armhole sits half an inch lower than the other. Ripping back a garment is slow enough that the whole thing goes into a bag and stays there.
Two rectangles fix all of it. No decreases, no counting at the edges. You chain a width and work rows of one stitch until the piece reaches a length. Make a second piece the same. Then sew the two together at the sides and the shoulders, and the gaps you leave in those seams become the armholes and the neck. Everything that turns the fabric into a top happens after the crochet is done, with a yarn needle (a blunt needle with a big eye).
This top is worked in DK weight cotton, a light-to-medium yarn marked 3 on the ball band, with a 4 mm (G) hook. Cotton holds a rectangle’s corners square and does not sag at the shoulders the way acrylic can. The terms are US crochet terms throughout. Expect 8 to 12 hours for a size medium in double crochet, and closer to 15 in moss stitch.
The seven steps, start to finish
- Measure around the fullest part of the bust and pick your size from the table further down. Then measure from the top of the shoulder to where you want the hem to sit. The length column in the table is a starting point, and you change it by adding or removing rows.
- Chain the number shown for your size. Keep the chain loose. A tight starting chain pulls the hem in narrower than the body above it, and nothing short of ripping out fixes that later.
- Work rows of double crochet (dc) until the piece reaches the length for your size. For a double crochet, first yarn over, which means wrapping the yarn over the hook from back to front. Insert the hook into the next stitch, yarn over again and pull up a loop, so three loops sit on the hook. Yarn over and pull through two loops. Yarn over once more and pull through the last two. Begin every row with chain 3, count that chain as the first stitch, and put the last stitch of the row into the top of the chain 3 from the row below.
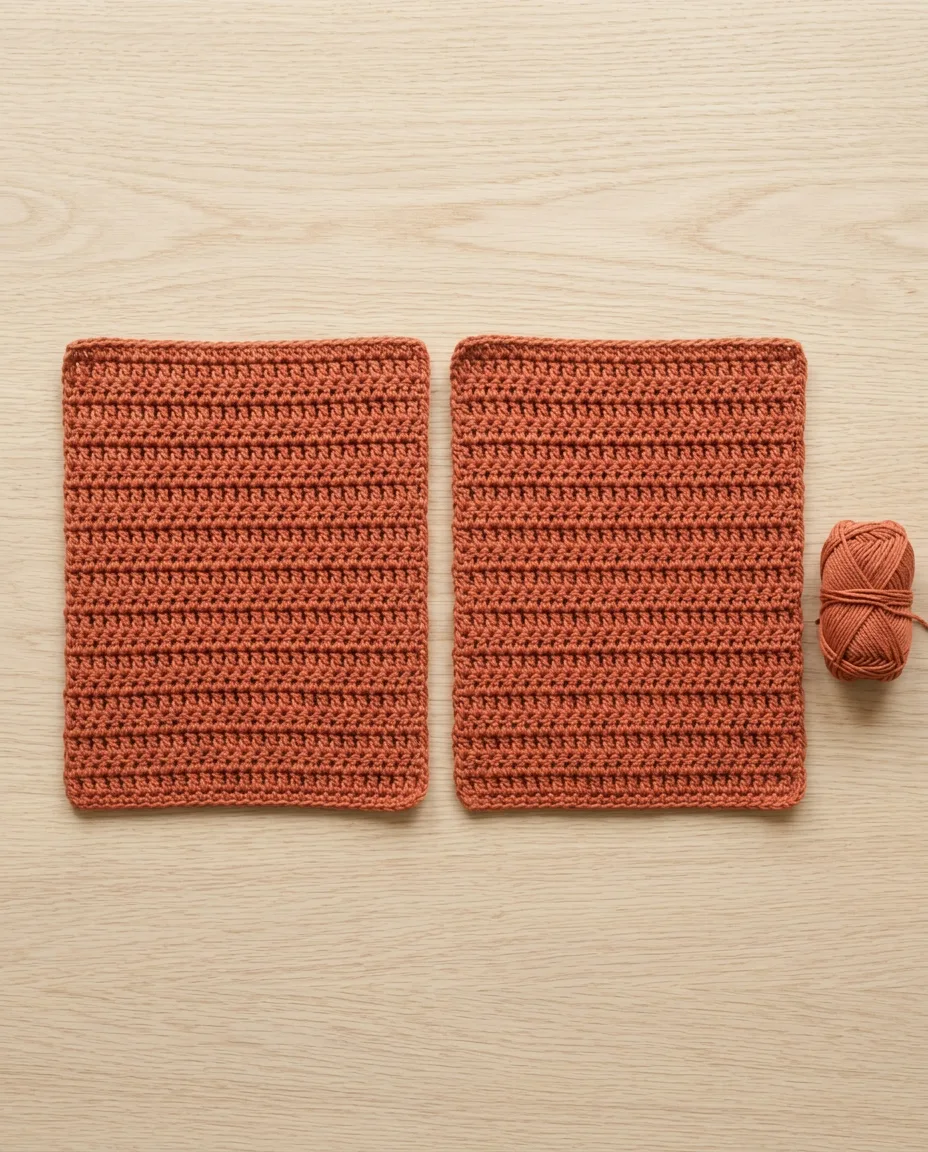
- Make the second rectangle. Match it to the first by row count. A measuring tape stretches the fabric as you pull it, and two rectangles measured to the same length can differ by a full row.
 Save
SaveBoth rectangles finished and matched by row count before any seaming begins. - Lay one rectangle on top of the other with the edges lined up and clip them together with the markers. Starting at the bottom corner, sew up each side until the seam reaches the armhole depth for your size, then fasten off. The unsewn stretch above each side seam is the armhole.
- Sew the shoulders. From each outer top corner, sew inward along the top edge for the shoulder length in the second table, then stop. The gap left in the middle is the neck. Try the top on before you fasten off the second shoulder, because a 9 inch (23 cm) gap clears most heads with the stretch of the fabric, and you can undo a few stitches if it does not.
- Finish the neck and both armholes with one round of single crochet (sc): insert the hook into a stitch on the edge, yarn over, pull up a loop, then yarn over and pull through both loops on the hook. The round flattens the row ends and stops the neck from stretching out of shape. The hem does not need it, because the starting chain is already a clean edge.
Sizing table and starting chains
Every number below assumes a gauge of 16 double crochet and 8 rows to 4 inches (10 cm) with the 4 mm hook. Gauge means how many stitches and rows fit into a set measurement, and yours is whatever your hands produce. Make a swatch, a test square of about 20 stitches and 10 rows, before you chain the full width. Count the stitches across the middle 4 inches. If you get 17 or 18, go up to a 4.5 mm hook. If you get 14 or 15, go down to 3.5 mm.
Starting chain = stitches + 2. The first double crochet goes into the fourth chain from the hook, and the three skipped chains count as the first stitch, which brings the row to the stitch count in brackets.
| Size | Fits bust | Rectangle width | Rectangle length | Starting chain | Rows | Yarn |
|---|---|---|---|---|---|---|
| XS | 30–32 in (76–81 cm) | 17 in (43 cm) | 20 in (51 cm) | 70 (68 dc) | 40 | 700 yd (640 m) |
| S | 34–36 in (86–91 cm) | 19 in (48 cm) | 21 in (53 cm) | 78 (76 dc) | 42 | 800 yd (730 m) |
| M | 38–40 in (97–102 cm) | 21 in (53 cm) | 22 in (56 cm) | 86 (84 dc) | 44 | 900 yd (820 m) |
| L | 42–44 in (107–112 cm) | 23 in (58 cm) | 23 in (58 cm) | 94 (92 dc) | 46 | 1,050 yd (960 m) |
| XL | 46–48 in (117–122 cm) | 25 in (64 cm) | 24 in (61 cm) | 102 (100 dc) | 48 | 1,200 yd (1,100 m) |
The finished bust is twice the rectangle width, so the top has 2 to 4 inches of room over the body measurement. That is a boxy fit, and this style depends on it. A rectangle cut to the exact bust pulls across the chest and rides up when you lift your arms.
| Size | Armhole depth (left unsewn) | Shoulder seam (each side) | Neck opening |
|---|---|---|---|
| XS | 7 in (18 cm) | 4 in (10 cm) | 9 in (23 cm) |
| S | 7.5 in (19 cm) | 5 in (13 cm) | 9 in (23 cm) |
| M | 8 in (20 cm) | 5.5 in (14 cm) | 10 in (25 cm) |
| L | 8.5 in (22 cm) | 6.5 in (17 cm) | 10 in (25 cm) |
| XL | 9 in (23 cm) | 7.5 in (19 cm) | 10 in (25 cm) |
Moss stitch runs tighter. In the same yarn with the same hook it lands close to 18 stitches and 20 rows to 4 inches, counting every chain-1 as a stitch. So for a moss stitch top, multiply your width in inches by 4.5 and round to an even number for the starting chain, and multiply the length by 5 for the row count. Size M comes out at a chain of 94 and 110 rows. Swatch it anyway. Moss stitch gauge varies more between hands than double crochet does.
Moss stitch or double crochet
Double crochet is the fast choice. Each row adds half an inch, the fabric drapes well, and the rows read as soft horizontal ridges. In cotton it has small gaps between the posts, so a light top in a pale color shows a little skin or the camisole under it. For a layering piece worn over a tank, that is fine.
Moss stitch (also sold under the name linen stitch) is denser and looks woven. It is single crochet and chain 1 alternating, with every single crochet dropped into the chain space, the small gap under a chain-1, from the row below. To start it, chain an even number. Work a single crochet in the second chain from the hook, then chain 1, skip one chain, and work another in the next. Repeat that to the end. On every row after, turn and chain 1, work a single crochet in the first chain space, chain 1, skip the single crochet below, and work one in the next space. The last single crochet of each row goes into the turning chain, the chain-1 that began the row before, which keeps the edges straight. Save
Save
Moss uses about 15 percent more yarn than double crochet for the same rectangle, and it takes almost twice the rows. The payoff is a top with no see-through and a flat, even surface that hangs straight. Choose moss if the top is going to be worn on its own. Choose double crochet if you want it done this weekend.
Seaming without a visible ridge
Mattress stitch gives the flattest side seam. Lay the two rectangles edge to edge on a table, both facing up, and thread the yarn needle with about 30 inches of the same yarn. Catch the outer post of the first stitch on the left edge, then the outer post of the first stitch on the right edge. Keep going, one stitch from each side in turn, and pull the yarn snug every four or five stitches. The edges roll toward each other and the join disappears into a line of stitches that looks like one more column.
Shoulders are different because you are joining stitch tops to stitch tops. Whip stitch works there. Hold the two top edges together, pass the needle through the outer loop of one stitch on each edge, and move one stitch along. Pull each pass to the same tightness so the seam lies in a flat line across the shoulder.
But two things go wrong at this stage. Pulling the seaming yarn too hard puckers the side into a wavy line that no amount of pressing flattens, so stop at snug. And seaming with a darker or lighter yarn shows through double crochet gaps; use the same ball.
How the fit works
Nothing about this top follows the body. The rectangle is wider than your shoulders, so the fabric past the shoulder seam drops over the top of the arm and makes a short cap sleeve on its own. On a size M, the rectangle is 21 inches across and an average shoulder span is about 15 inches, so roughly 3 inches hangs over on each side. The armhole sits under that drop and the side seam runs straight to the hem.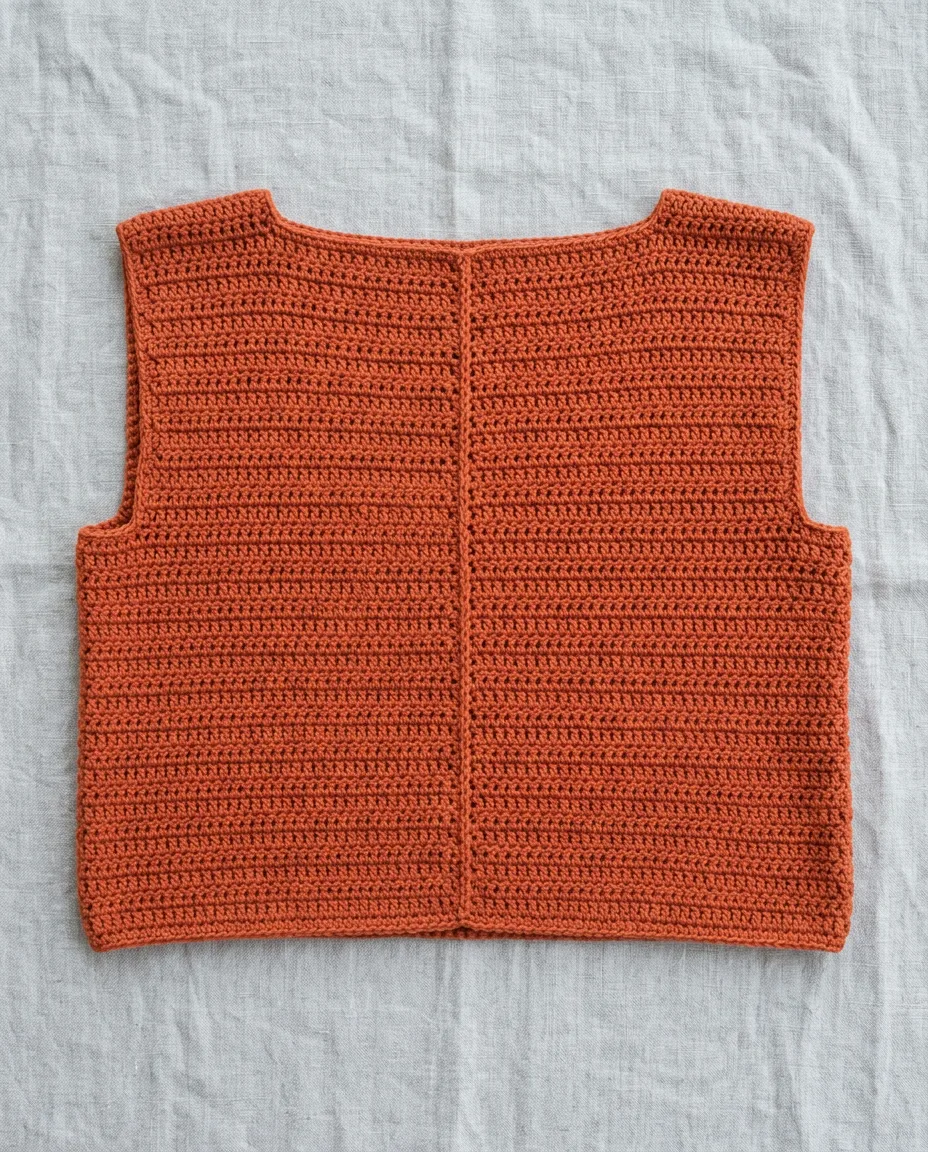 Save
Save
Hem length in the table sits at the high hip. Take off 8 rows (4 inches) for a cropped version that ends at the waist, or add 8 rows for a tunic. Nothing else changes.
For a strappy version, skip the shoulder seams. Make two straps: chain 61, then work 3 rows of single crochet along it for a strap about 15 inches (38 cm) long and 1 inch (2.5 cm) wide. Sew one end to the front edge 3 inches in from the side seam and the other end to the back at the same point. Try it on before sewing the second end, and shorten the strap if the top edge sits low. Finish the top edge with the same round of single crochet as the armholes, because a plain row of double crochet along the top of a camisole stretches wide in a day.
Washing and keeping the shape
Cotton grows when it is wet and heavy. Wash the top by hand or on a cool 30°C wool cycle, roll it in a towel, and dry it flat on a second towel with the sides pulled back to the right width. A wet cotton top on a hanger will be 2 inches longer by the time it dries, and the shoulders will not recover.
Blocking, which means wetting the pieces and pinning them flat to dry, is worth doing before you seam. Pin both rectangles side by side to the width in the table, let them dry overnight, and the edges you sew will be straight lines with square corners. Skip it and a wavy edge gets sewn in for good.
Cotton also stretches lengthwise over a day of wearing and pulls back when it is washed. Stored folded on a shelf, the top keeps its shape for years. Stored on a hanger, it gets longer and narrower every month.