A half-finished bear head sits on a kitchen table with a small hole opening at the top. The maker stuffed it an hour ago. The ring that started it had been pulled tight and looked closed, and then round twelve went in, the stuffing pushed outward, and the center slid open by a few millimeters. By morning the tail has worked its way out and the first six stitches are hanging on nothing.
This happens to almost every crocheter once, and it is never a stitching problem. A magic ring, which is an adjustable loop you crochet the first round into and then pull shut, only stays shut when the tail is locked. The hook work takes two minutes to learn. Locking the tail takes one more, and it is the part most tutorials wave past.
This page uses US crochet terms. The practice ring below takes about ten minutes with the kit here.
Making the ring
Everything below is done with the yarn held in the left hand and the hook in the right. Swap the hands if you crochet left-handed and read “left” as “right”. Leave a tail of at least 6 inches, 15 cm. Shorter than that and the tail cannot be woven in properly later, and that is where the whole thing comes undone.
- Wrap the yarn around two fingers. Hold the tail end against your left palm with your thumb, with 6 inches hanging down. Bring the working yarn, the strand that runs to the ball, up over the back of your index and middle fingers and around to the front again so it crosses over the tail. You now have one loop around two fingers with an X where the strands cross.
- Insert the hook under the strand nearest your fingertips. Slide it in from right to left, under that first strand only.
- Pull up a loop. Catch the second strand, the one nearer your knuckles, with the hook head and draw it under the first strand. One loop is now on the hook, sitting on top of the ring.
- Chain 1. Yarn over, meaning wrap the yarn over the hook from back to front, and pull through the loop on the hook. This chain locks the loop onto the ring and is never counted as a stitch.
- Work the first single crochet into the ring. Slide the ring off your fingers and hold it where the tail meets the chain. Insert the hook into the center of the ring, going under both the ring strand and the tail together. Yarn over and pull up a loop so two loops sit on the hook. Yarn over again and pull through both loops. That is one single crochet (sc).
- Work five more single crochet into the ring the same way, each one over both the ring strand and the tail. Six stitches now sit around the ring. Push them along the ring as you go so the later ones have room.
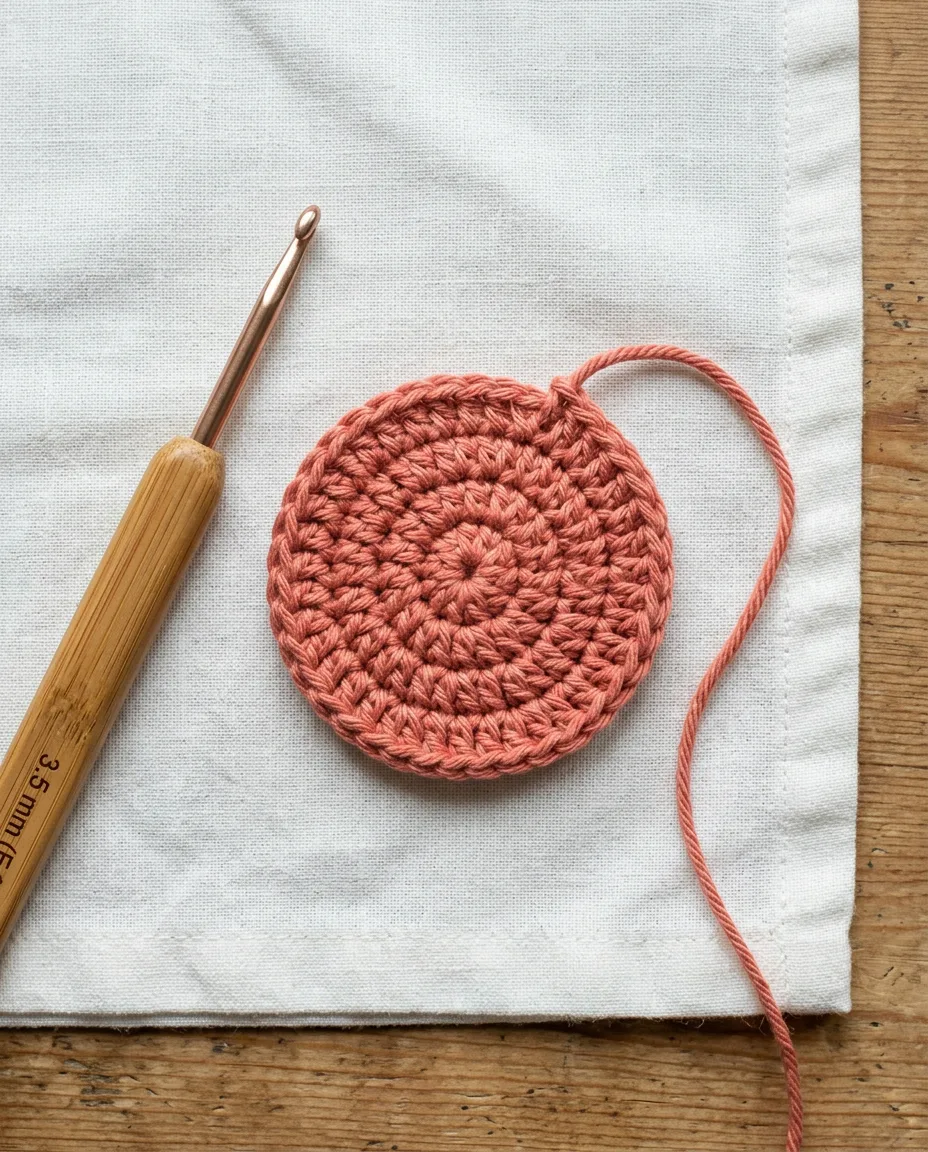
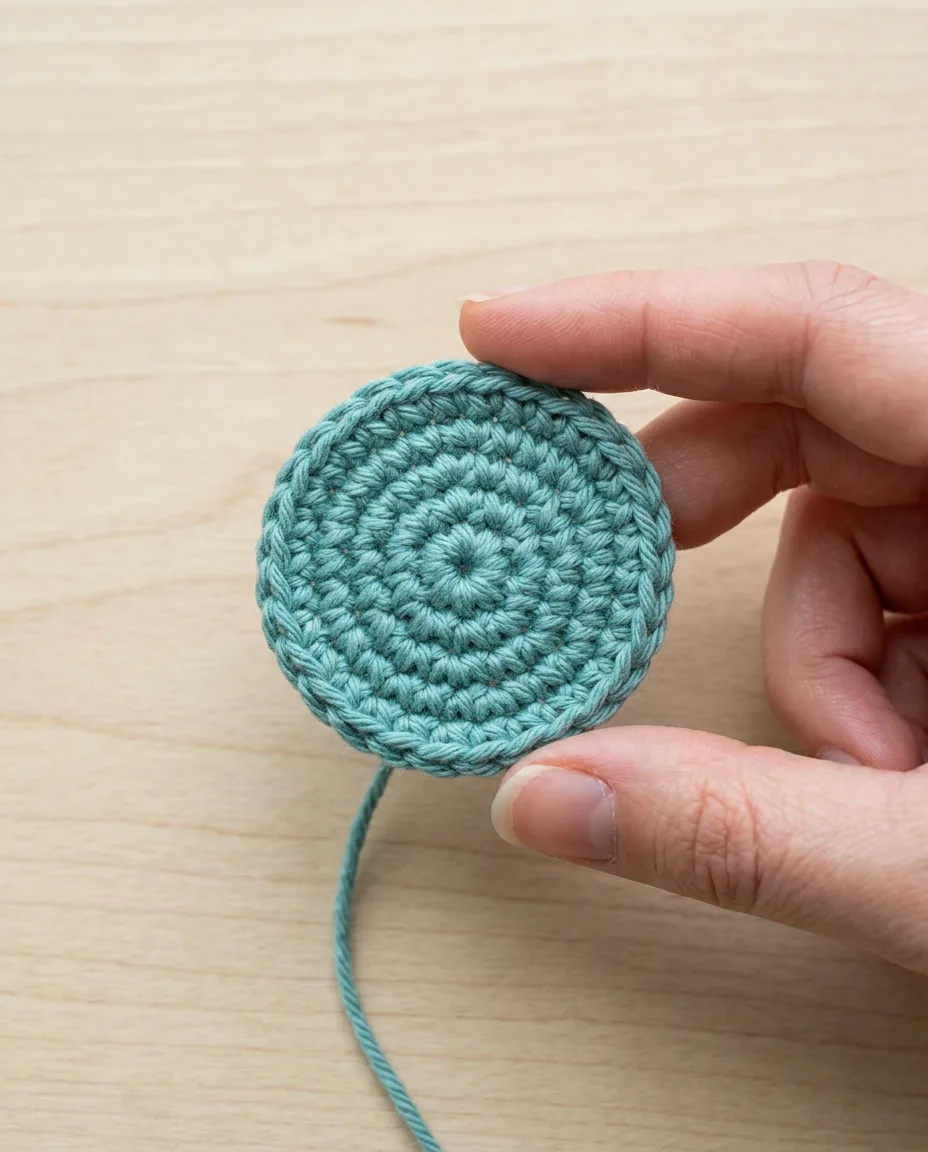
- Pull the tail to close. Hold the six stitches gently in your left hand and pull the tail with the right until the hole disappears. Pull firmly. The stitches tighten into a small flat disc with no gap in the middle. Clip a stitch marker into the first stitch and begin round two straight into it.
Pull the tail, and watch what moves. If the ring shrinks, the strands were grabbed in the right order. If the working loop on the hook shrinks instead, the hook went under the wrong strand in the second step. Undo the six stitches and start again. It costs a minute and saves a toy.
Six stitches is the standard start for a ball or a head in worsted yarn. Five gives a tighter cone for a nose. Eight gives a flatter start that suits coasters and the base of a basket. Whatever the count, the stitches have to cover both the ring strand and the tail, or the tail will slide.
 Save
SaveWhy a ring opens up
Four faults account for almost every opened ring, and the first one is behind most of them. The tail was cut short and never woven in. A ring closes by friction alone. Six stitches worked over the tail hold it in place at first, but stuffing pushes outward on every one of those stitches for the life of the toy. A 2 inch tail has nothing to hold it and works free in days. A 6 inch tail woven in two laps holds for the life of the toy. The difference is one extra minute at the start.
Second, the stitches were worked over the ring strand alone. If the tail hangs loose below the stitches while you make them, nothing is pinning it. Pulling it then closes the hole, but the tail slides straight back out as soon as the stitches move. Lift the tail up and hold it along the ring so the hook goes under both every time.
Slippery yarn is the third. Chenille and smooth bamboo have almost no grip, so the tail glides through the stitch bases with no resistance. Wool and most acrylics have enough fuzz to hold. For a chenille toy, knot the tail around the base of the first stitch before weaving it in, and accept the small bump.
And the fourth is loose stitches. A 3.5 mm hook with worsted yarn makes a fabric tight enough that stuffing cannot push through. A 5 mm hook with the same yarn makes gaps, and the ring strand has room to loosen inside them. Toy fabric should be tight enough that you cannot see stuffing through it when stretched a little.
No amount of tugging on the tail fixes any of these after the fact. Tighten it as hard as you like and the ring still creeps open if the tail is free to move. The fix is always in the next section.
 Save
SaveSecuring the tail so it stays put
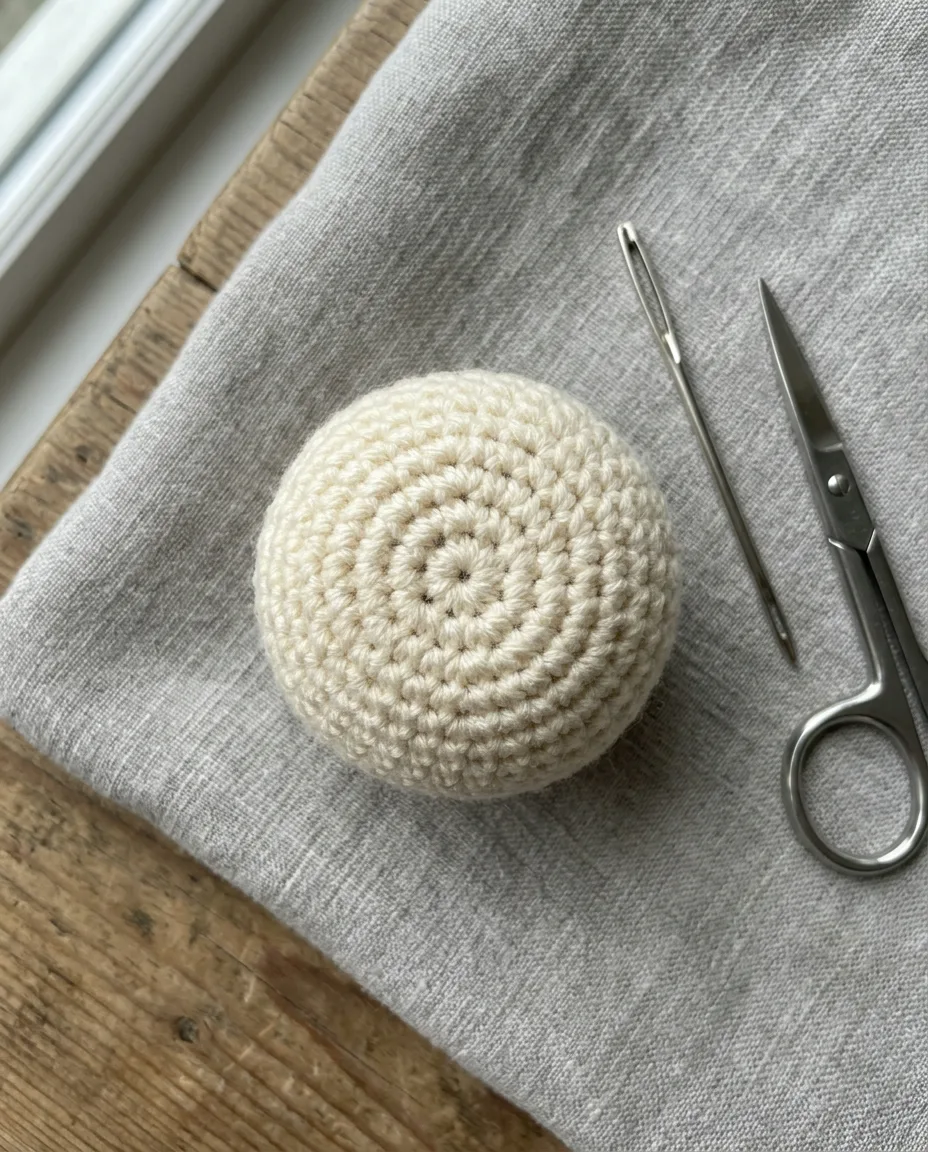
Do this before stuffing, when the inside is still reachable. Thread the tail onto the yarn needle. Working from the wrong side, pass the needle through the base of each of the six stitches in a circle, the same direction the stitches were worked. That is one lap.
Then reverse. Pass the needle back through the same six bases in the other direction. Two laps in opposite directions lock the tail against itself, and the ring cannot open without the yarn breaking. Pull the tail snug after each lap so the center stays shut.
Trim the remaining tail to about 1 inch and tuck it inside the piece. Stuffing will hide it. A tail trimmed flush to the fabric is the single most common cause of a ring opening months later, because the woven end has no slack and the first wash pulls it out.
Twenty seconds is all this takes once you have done it a few times. Skip it on a flat coaster if you like, where there is no stuffing pushing out. Never skip it on a stuffed toy.
The rounds that follow
Round two doubles the count by working two single crochet into every stitch. Two stitches worked into one is an increase (inc). Round three alternates one plain stitch and one increase. The three rounds below make a flat disc about 1.5 inches, 4 cm, across in worsted yarn. That disc is the start of almost every head in amigurumi, the Japanese word for a small crocheted stuffed toy.
- 6 sc into the magic ring 6 sts
- inc in each st around 12 sts
- (sc, inc) x6 18 sts
Work in a continuous spiral with no joining, moving the stitch marker up to the first stitch of each new round. Count at the end of every round. If round two has 11, one stitch got a single sc where it needed two, and the ring will look lopsided by round four.
Round four would be (2 sc, inc) x6 for 24, and the disc begins to cup into a bowl once the increases stop.
 Save
SaveTwo alternatives when the ring will not behave
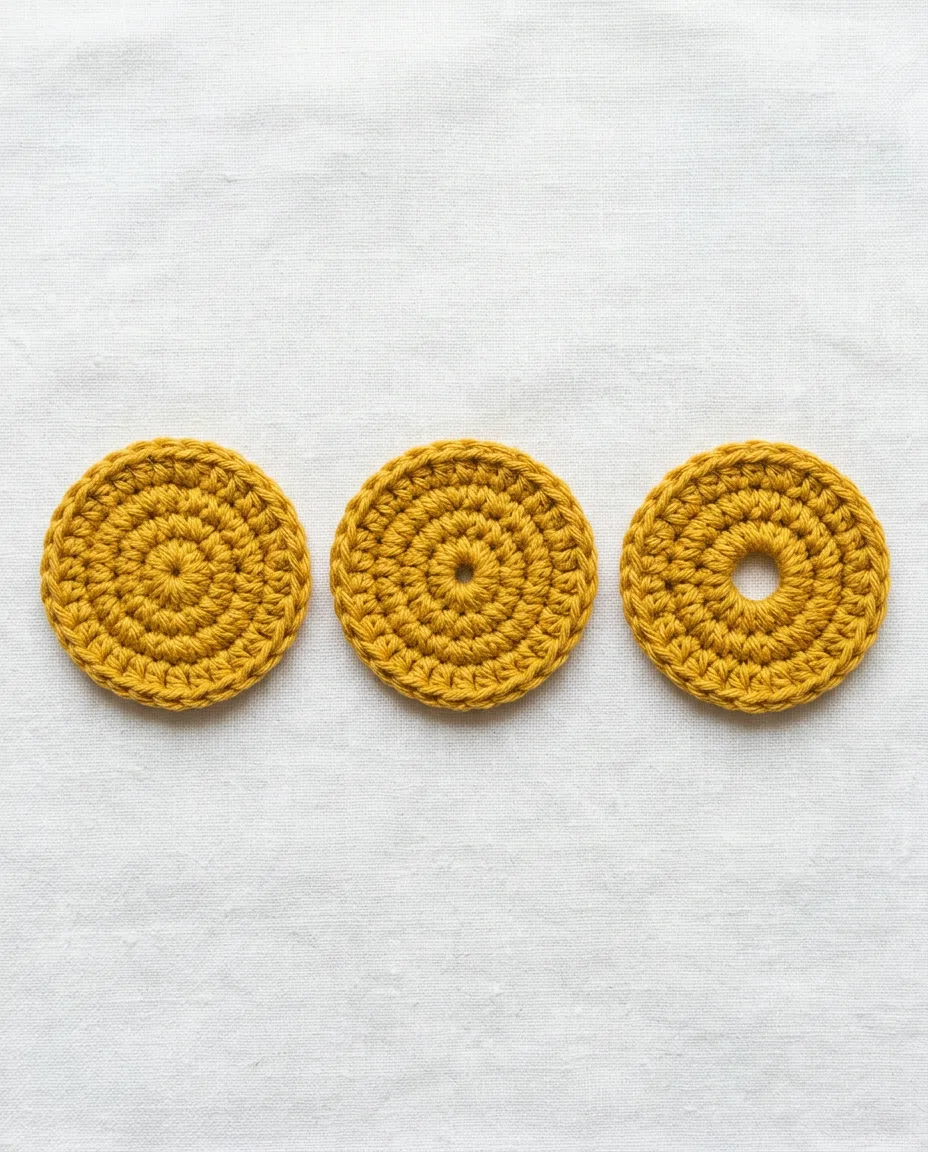
Some yarns fight the ring. Fuzzy mohair hides the strands so you cannot see which one to grab. Very thick chunky yarn makes a ring too stiff to slide shut. In both cases a chain start does the job and the hole it leaves can be closed with the tail.
Chain 2 and work six single crochet into the second chain from the hook, the one farthest from the hook. Insert the hook into that chain, yarn over, pull up a loop, yarn over and pull through both loops, six times. The six stitches crowd into one chain and leave a hole about 3 mm across. Pull the tail and most of it closes. Weave the tail in two laps as above.
Chain 4 and join with a slip stitch to make a small ring. A slip stitch is made by inserting the hook into the first chain, yarning over and pulling through both that chain and the loop on the hook in one movement. Work six single crochet into the center of the ring. This leaves a hole about 5 mm wide that the tail cannot close, so save it for hats and bags where a hole at the crown is normal and a button or pompom covers it.
The magic ring beats both for toys because it closes to nothing. The chain 2 start is the one to reach for when a beginner has tried the ring five times and is about to give up. It is weaker, and a 3 mm hole on the bottom of a toy is not a disaster.